Creating DIY Backdrops for Food Photography: A Step-by-Step Guide
Share
Creating your own backdrops for food photography can add a unique personal touch to your shots. Here, I’ll walk you through the process of making custom DIY backdrops based on my experience and updated techniques.
1. Find Inspiration
Before gathering materials, start by collecting inspiration. Platforms like Pinterest or simply observing textures in everyday life can provide ideas for backdrops. For example, a tree’s bark or suede fabric can spark creativity. Creating a Pinterest board or saving images will help you envision your final product.
2. Choose the Right Materials
For a sturdy and reliable backdrop, wood is the preferred material. In the past, I used laminated plywood, but I now prefer MDF boards for their durability and smooth surface. MDF boards allow for even layering, and their minimal texture makes them easier to work with when adding joint compound or paint. When selecting your board, ensure the surface isn’t too textured unless you’re aiming for a specific, rough look.
For the optimal size, I recommend boards around 2 feet by 3 feet. This size provides enough space for flat lays and background coverage in various photography setups. For more flexibility, consider 2 feet by 4 feet boards, which are easy to prop up for vertical shots.
3. Prepare the Surface with Joint Compound
Once your board is selected, the first step is to add joint compound to create texture. Using a putty knife, apply a thin layer across the board. It’s important to keep this layer even, especially if you plan to place bowls or other props on the surface later.
As the joint compound dries, you can create subtle textures by dragging the putty knife across the surface or using cross-hatching techniques. Don’t be afraid to experiment with patterns or textures, and remember that any mistakes can easily be fixed by scraping away the compound and reapplying it.
4. Let the Board Dry
Patience is key here—let the joint compound dry completely before moving on to painting. This can take about 24 hours, and skipping this step can lead to poor results.
5. Apply Paint in Layers
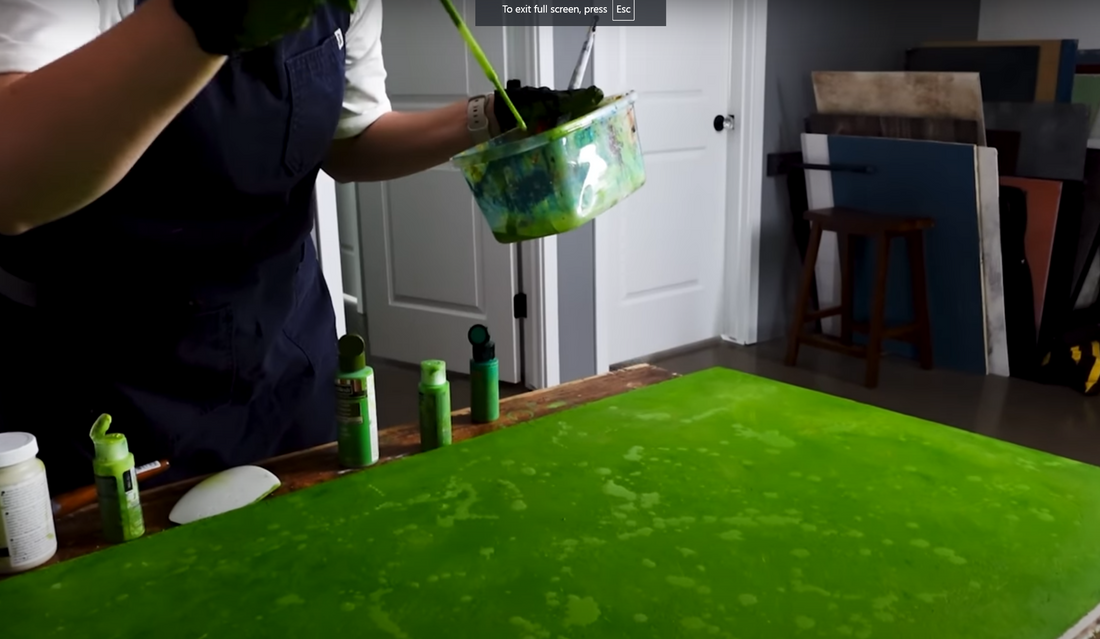
Once dry, it’s time to apply paint. I recommend using matte or chalk paints, as these provide a nice, flat finish that doesn’t reflect too much light. For a dynamic, textured look, don’t stick to just one color. Mix multiple shades of your base color and add in complementary tones like black, white, or gray to create depth.
To apply the paint, you can use brushes, sponges, or even found objects like plastic bags or bubble wrap for texture. This will give your backdrop an organic, layered look, and the imperfections add a handcrafted touch to your photography.
6. Experiment with Textures
One of the most fun aspects of this process is playing with texture. Use sponges or dry brushes to create streaks, splatters, or smudges. These textures give your backdrop personality and can make it feel more authentic and lived-in.
For an interesting, watercolor-like effect, dilute the paint with water and allow it to run over the surface, creating unique patterns as it dries. Remember to work in layers, building up color slowly for the most natural result.
7. Final Touches and Sealing the Board
After painting, give the board time to dry. Once you’re satisfied with the look, you can choose to seal it using a matte fixing spray. This step is optional, but sealing will protect the paint from wear and tear, especially if you plan to use the backdrop frequently.
8. Troubleshooting: Warping
If your board begins to warp due to moisture, a great solution is to apply joint compound in an X pattern on the back of the board to reinforce it. This will help balance the moisture and keep the board flat.
Conclusion
Creating DIY backdrops is an enjoyable and creative process that allows you to customize your food photography shoots. Whether you love experimenting with different textures, or you’re looking for something that aligns with your personal aesthetic, building your own backdrops will give your photos a distinctive, professional look. If DIY isn't your thing, plenty of pre-made options are available, but for those who love the process, this is a fantastic way to infuse creativity into your photography.
Whether you’re just starting or looking to refine your technique, these steps will help you create stunning backdrops that make your food photography stand out. Happy creating!
